
While it was time consuming, for me this recipe was somewhat simpler in that you can basically do everything beforehand, and put it all together at the last minute. Or put it all together and boil the pierogi ahead of time, and fry them at the last minute. Either way, it avoids my usual pitfall of just not being able to get the hang of cooking multiple items and making sure they're done at the same time.
The August 2010 Daring Cooks’ Challenge was hosted by LizG of Bits n’ Bites and Anula of Anula’s Kitchen. They chose to challenge Daring Cooks to make pierogi from scratch and an optional challenge to provide one filling that best represents their locale. I wanted to do a dessert pierogi, but ran out of time. Now having attempted traditional pierogi, however, I will be very comfortable breaking out of the mold and getting more creative with them in the future.

Source
The Daring Cooks August 2010 Challenge
Yield
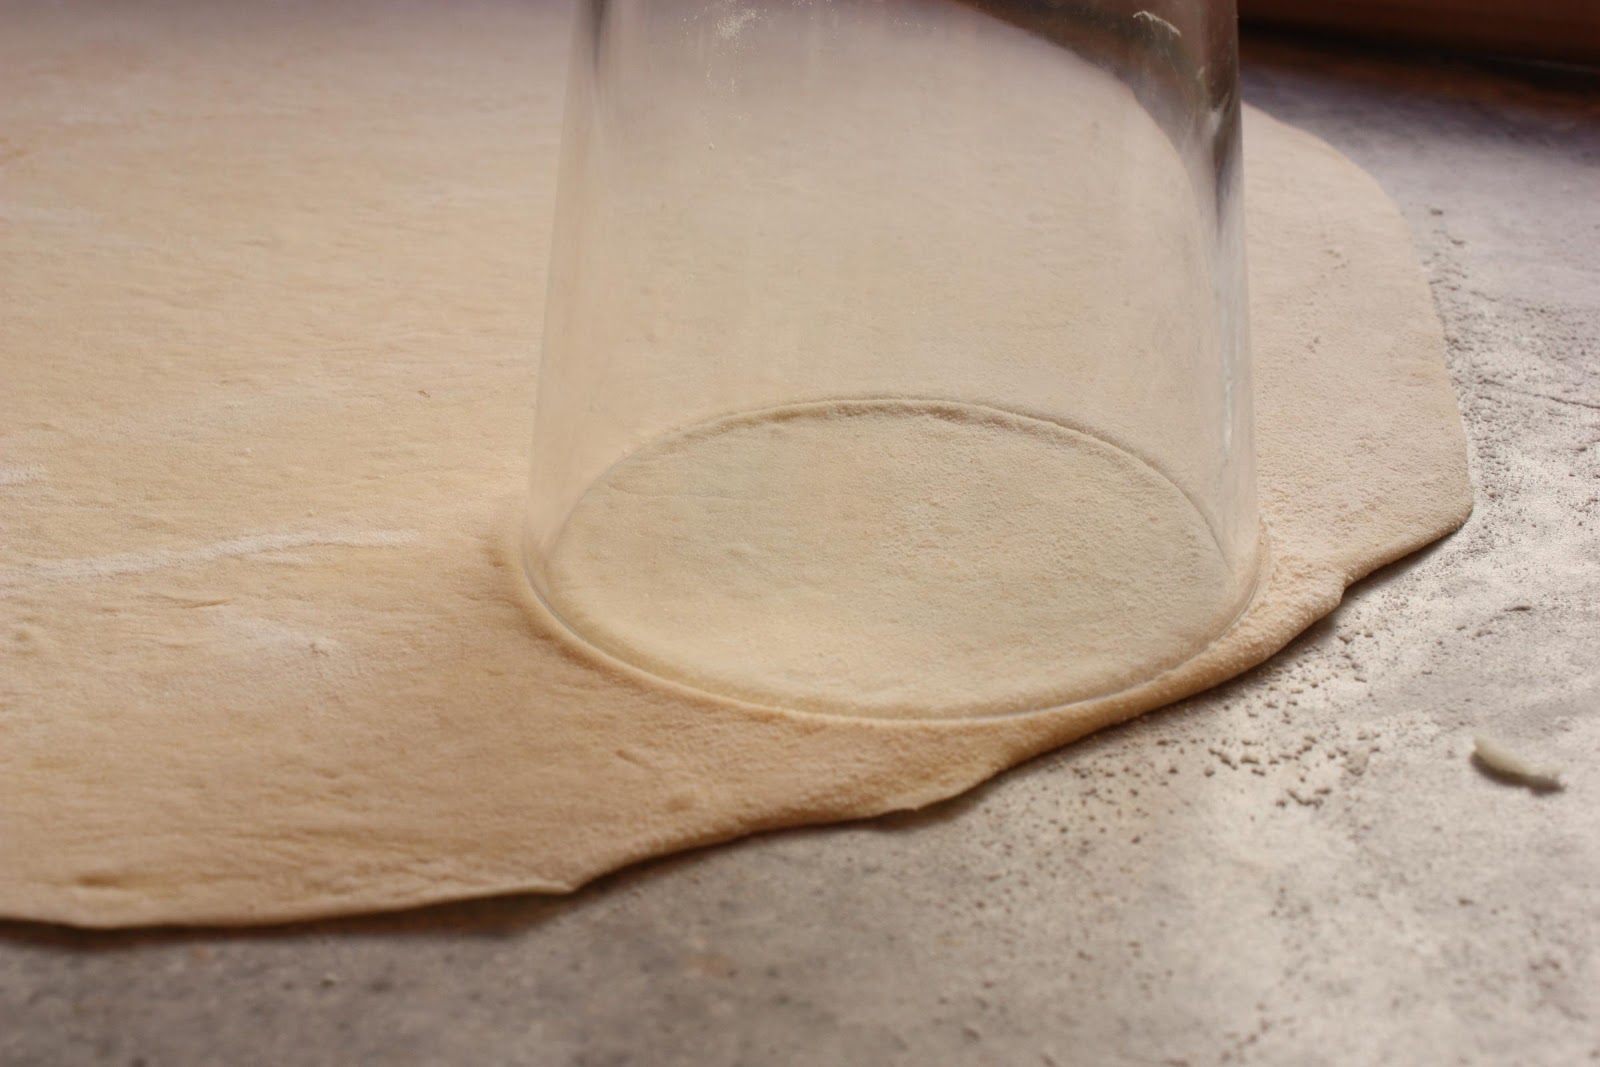
About 28 pierogi, however I had tons of filling left, so I probably could have rolled the dough thinner to get more pierogi out of it. This was using a 4" glass to cut the circles.
Equipment
Large pot to boil potatoes
Potato masher or ricer
Mesh strainer for draining cottage cheese
Knife to dice onions and bacon
Cutting board to dice onions and bacon
Sauté pan for onions
Frying pan for bacon
Egg separator (optional, you can use the shell to separate the yolk from the white)
2 large bowls, one for mixing the ingredients of the filling, the other for the dough
Rolling pin
2" - 4" glass with thin edges for cutting circles in the dough
Large enameled sauté pan for frying the pierogi
Ingredients

- 3 big Potatoes, cooked and mashed
- 1 cup Cottage cheese, drained
- 1 Onion, diced and sautéed until clear
- 4 slices Bacon, fried crispy and diced
- 1 Egg yolk
- 1 tbsp. Butter, melted
- 1/4 tsp. Salt
- To taste, pinch of Pepper

- 2 1/2 cups Flour
- 1 Large egg
- 1 tsp. Salt
- 1 cup Lukewarm water
Directions
Fry up the bacon until it's very, very crispy.


Oh, Bacon. Why are you so awesome?
Finely dice the bacon,

and set aside.

Boil and mash the potatoes, let them cool somewhat, and add in all the ingredients for the filling - the cottage cheese,

egg yolk,

salt,

bacon,

and sautéed onions (I somehow forgot to get a picture of that step). Mix it up well, and set aside for as long as you need to make the dough.
Now to make the dough. Put the flour in a large bowl

and form a well in the middle.


Add in the egg,

salt,

and a little bit of the water at a time.

Knead the dough well

and form it into a ball.

Set the dough aside for 20 minutes.
Meanwhile flour a work surface well.

After 20 minutes, roll out the dough on the work surface to 1/8 of an inch. I thought I had gotten it thin enough, but judging by how much filling I had left over, I probably should have been able to get it thinner.

Cut out circles using a glass or cup with very thin sides. I tried a few glasses before I got one that would cut through the dough without just squishing it. The size of the opening of the glass is important too, depending on what size pierogi you want. The recipe called for a 2" glass, but I thought even my 4" made rather bite-sized versions.

Get as many circles as you can out of that sheet of dough, roll out the scraps, and keep repeating until the dough is used up.

Place a small amount of filling in the center of the circle,

and fold in half.

The recipe said that the dough should seal itself without any water or egg to help it, but I knew after forming the first one that it wasn't going to stick. Perhaps there was too much flour on my dough or something, but a drop of water drawn around the edge of the circle worked perfectly. The only pierogi that busted open in cooking was the first one where I didn't use water.
Press down on the edges to seal it well.

Repeat until you have no dough or filling left.

I found that putting them on parchment paper while waiting to be boiled helped them not to stick to the pan.

Bring a pot of salted water to boil. Only a few at a time (don't crowd the pot), gently place in the pierogi. Stir gently to make sure they don't stick. Bring the water back to a boil, and reduce the heat. Wait for the pierogi to float to the top, let them float for another 5 minutes, then remove with a slotted spoon.


Once they've cooled off a bit (or even frozen), fry them lightly in butter, about 3 minutes on each side to get them crispy.


At this point my picture quality started to go down as it got darker out and had to turn on the evil indoor lights. Gotta figure out a way around that besides starting to cook at 10am...


While the first batch waited for the others to be done, I perched them on a cooling rack so they weren't sitting in butter.
We served them with a colorful salad of spring mix, tomatoes, cucumbers, yellow pepper and feta,

and some grilled kielbasa, keeping with the polish theme.


The next day I used the leftover filling to make potato croquettes, just pattied, floured and egged, panko breakcrumbs, then fried. Also, since I didn't need the whole pound of bacon, we made BLTs for lunch.

Three great meals out of this recipe!

Three great meals out of this recipe!
No comments:
Post a Comment
Note: Only a member of this blog may post a comment.